Join Our WhatsApp Group For Free Tutorials
{Coding Spider}
Unraveling the Web of Code: Insights, Tutorials, and Stories.
Data 365 Admin
Category
Power BI
Microsoft Excel
ERP Concepts
Dynamics 365 FO
Artificial Intelligence
Trending
Data Trends
BI Trends
About
Contact
DMCA
Disclaimer
Editor's Choice
How to Restore Deleted Purchase Order in D365fo
Latest Posts
How to Restore Deleted Sales Order in D365fo
Converting from Database time zone to User time zone in D365FO
D365FO – Get Customer name and Vendor name in X++
D365FO – Currency Amount conversion
How to Create an XML file in X++ d365fo
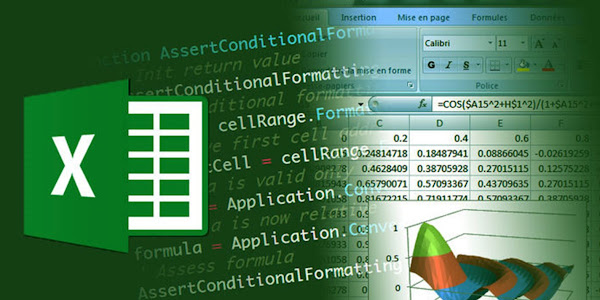
Some commonly used Excel formulas with examples
How to Add Social Media Icons in Your Blogger Sidebar
D365FO - Extract Time Info from DateTime Field using X++ Programming
SQL SERVER – How to select only Second row from a table?
How to Add single Quotes and Comma in Excel with CONCATENATE Function
How to Add Recent Posts in Blogger
How to Add Floating Sidebar Ads in Blogger